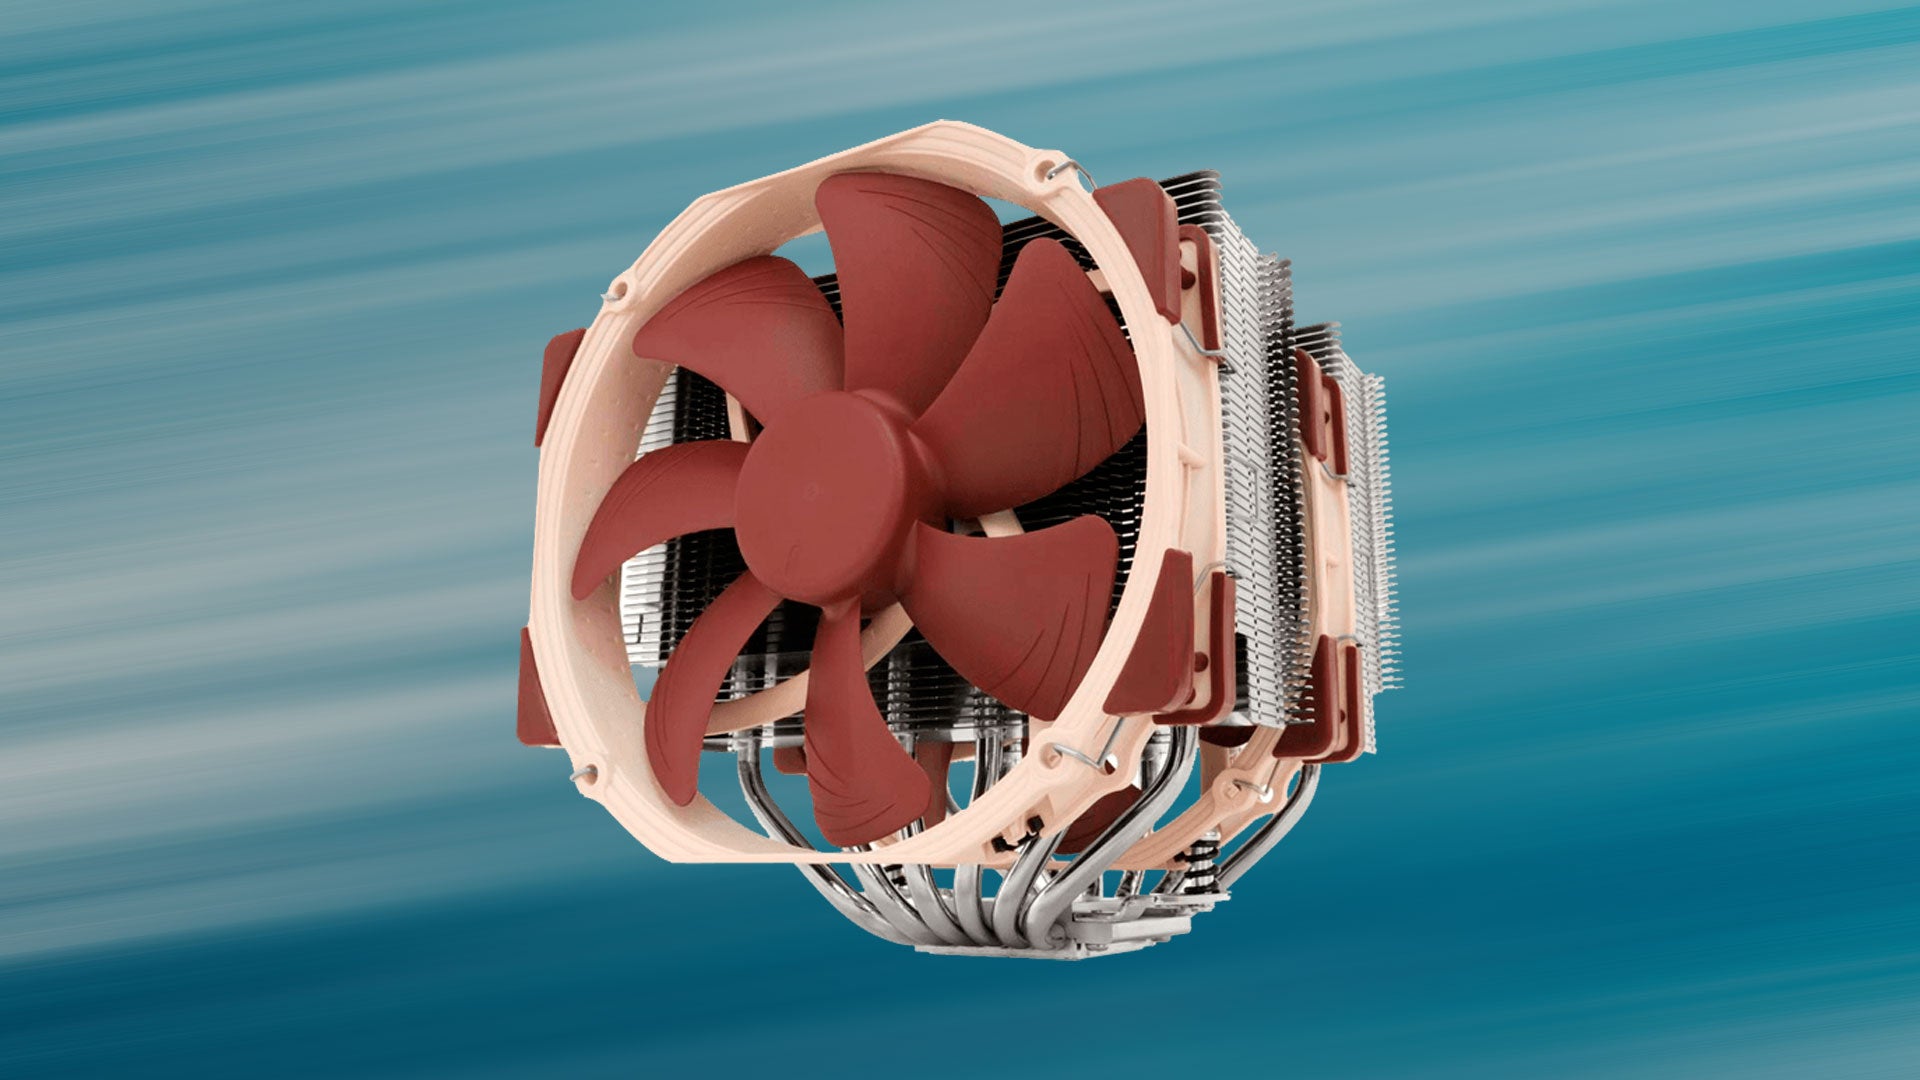
When building a PC, one of the critical components that require attention is the cooling system, and it’s essential to understand the difference between heat sink and cpu fan, as they serve different purposes in keeping your system cool. Installing a heatsink or CPU cooler is one of the most crucial steps in PC construction. Doing it right is crucial since an incorrectly placed heatsink or CPU cooler might overheat your system, resulting in instability, crashes, and even irreversible damage. Unfortunately, many installation blunders are made, resulting in subpar cooling performance. To prevent making these blunders, read this article before installing a heatsink or CPU cooler.
Mistake #1: Forgetting to Clean the Surface of the CPU
Forgetting to clean the CPU’s surface is one of the most typical errors individuals make while installing a heatsink or CPU cooler. When mounting a new heatsink or CPU cooler, the surface of the CPU should be clean of any dust, debris, or leftover thermal paste. Poor heat conductivity and decreased cooler performance can result from not cleaning the CPU’s surface.
Use a lint-free cloth and isopropyl alcohol to clean the CPU’s surface and remove any dirt or debris. Once the surface is clean, apply a little thermal paste to the middle of the CPU before attaching the heatsink or CPU cooler.
Mistake #2: Overapplying Thermal Paste
Another common mistake is overapplying thermal paste. Too much thermal paste can reduce how well the CPU cooler or heatsink cools. The CPU may overheat if too much thermal paste is used because it may leave air pockets that hinder thermal conductivity.
Apply the thermal paste properly by placing a pea-sized amount in the CPU’s center. Using a spatula or credit card, evenly distribute the thermal paste. The objective is to cover the entire CPU surface with a thin, even layer of thermal paste.
Mistake #3: Not Tightening the Screws Enough
Ensure the screws are tightened enough while installing a heatsink or CPU cooler. The CPU cooler or heatsink may not make adequate contact with the CPU if the screws are not tightened enough, resulting in poor thermal conductivity and higher temperatures.
It’s crucial to avoid overtightening the screws, though, as this could harm the motherboard or the CPU. Ensure the CPU cooler or heatsink is firmly fastened to the CPU by diagonally tightening the screws.
Mistake #4: Not Checking the Fan Direction
Not verifying the direction of the fan is another frequent error. Checking the fan’s direction before installing a heatsink or CPU cooler is crucial. The fan should be placed to direct airflow toward the case’s exhaust fan. Hot air may circulate if the fan is blowing in the wrong direction, decreasing the efficiency of the cooling method.
Mistake #5: Using the Wrong Heatsink or CPU Cooler
Finally, using the right CPU cooler or heatsink for your system is crucial. Using a heatsink or CPU cooler not intended for your CPU or motherboard can harm your system.
Check the compatibility of a heatsink or CPU cooler with your processor and motherboard before purchasing. Be sure the cooler fits inside your system’s chassis and is built to manage the heat output of your CPU.
Bottom Line
In conclusion, installing a heatsink or CPU cooler can be challenging, but you can keep your system stable and cool by avoiding these typical blunders. Recall to clean the CPU’s surface, properly apply the thermal paste, tighten the screws, check the direction of the fans, and use the appropriate heatsink or CPU cooler for your system. You may prevent potential issues and guarantee that your system operates at optimum temperatures by heeding the advice in this article. To keep your system’s cooling performance, it’s a good idea to routinely check the temperatures of your system and, if necessary, reapply thermal paste.
Along with avoiding these common blunders, handling your components carefully while installing them is crucial.
